
MOLDING AND CASTING
GOALS FOR THE WEEK
- Review the safety data sheets for each of your molding and casting materials
- Make and compare test casts with each of them
- Design a 3D mould around the stock and tooling that you'll be using, mill it (rough cut + (at least) three-axis finish cut), and use it to cast parts.
GROUP
INDIVIDUAL
Link to the group assignment: TEST
Molding and Casting is a manufacturing process in which a liquid material is typically poured
into a mould, containing a hollow cavity of the desired shape, and then allowed to solidify.
The solidified part is known as casting, which is ejected or broken from
the mold to complete the process.
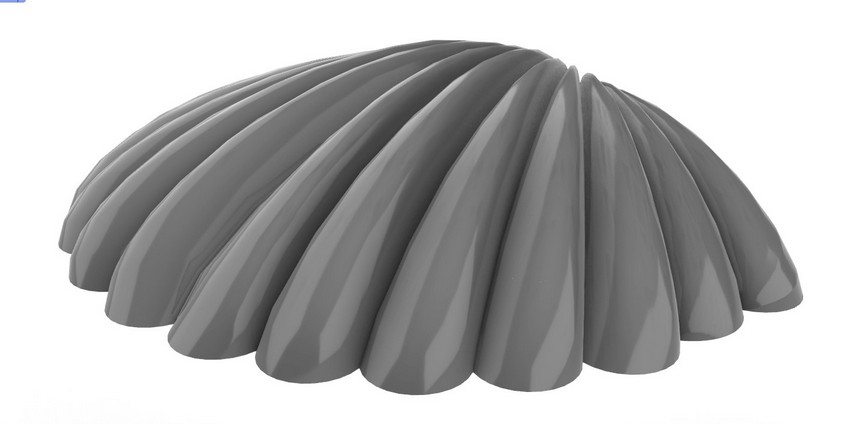
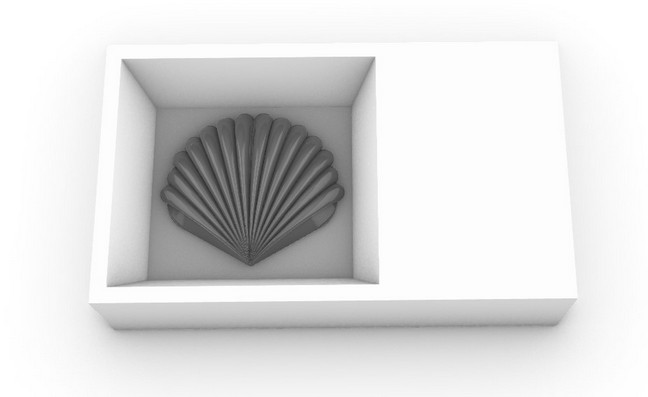
CONCEPT
I decided to use sketchup and rhino to design the mold. Make sure to make the walls of the mold tapered so the end mill does not break while milling.

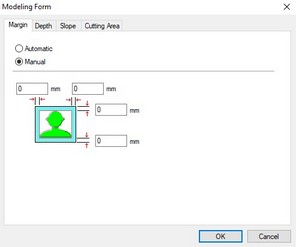
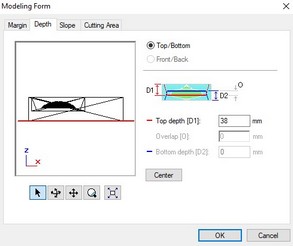
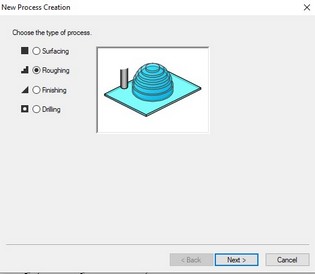
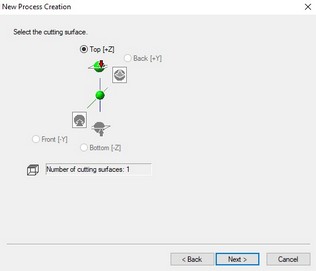
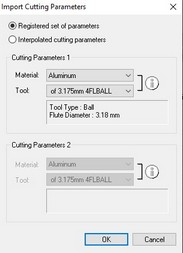
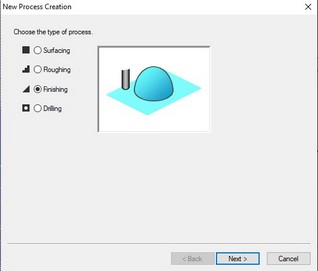
CREATING THE TOOLPATH WITH MODELA PLAYER 4
- Setting up the modelling form
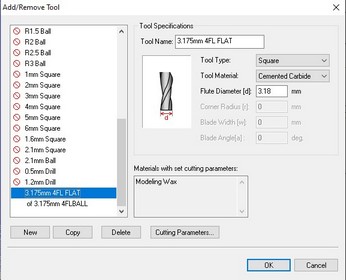
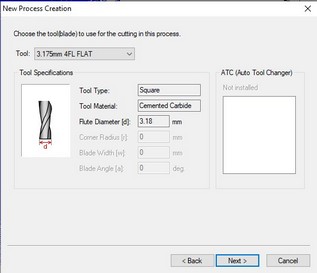
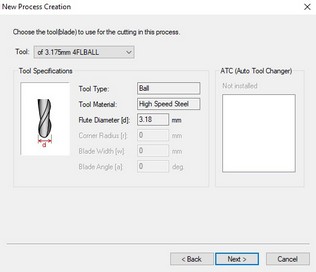
- Creating new roughing tool
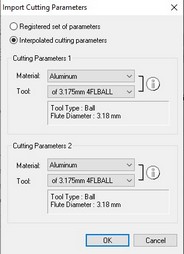
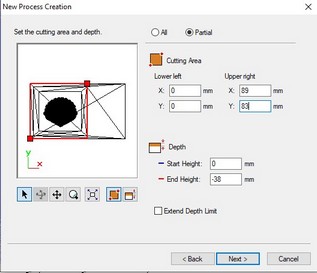
- Roughing parameters
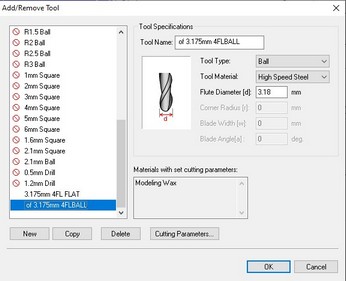
- Creating new finishing tool
- Finishing parameters
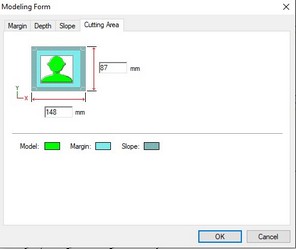
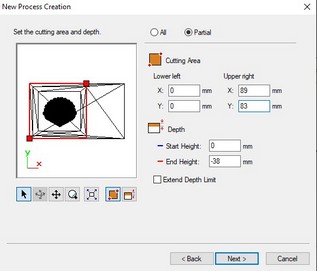
ROUGHING

Set up a partial cutting area and make sure to use the same values for the Finish parameters as well.

Rough cut toolpath simulation
FINISHING
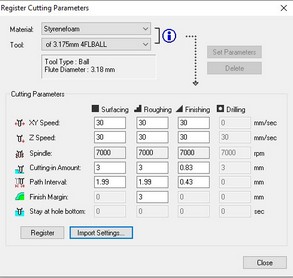

Set up a partial cutting area and make sure to use the same values for the Finish parameters as well.
Finishing cut toolpath simulation
MILLING ON WAX
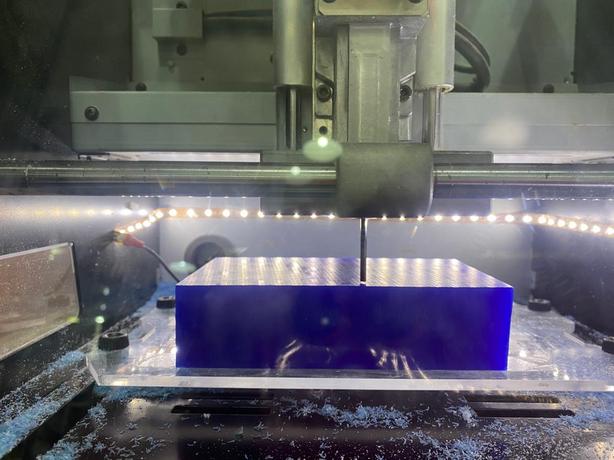
- Stick the block of wax to the milling machine with some double sided tape.
- Make sure the endmill to be used is long enough to mill the block.
- I used 1/8 4F Flat endmill for the Roughing.
- Set the origins and the output for milling can be given directly from Modela Player.
- Change the endmill to a 1/8 4F ball for finishing.
- Set the Z axis again.
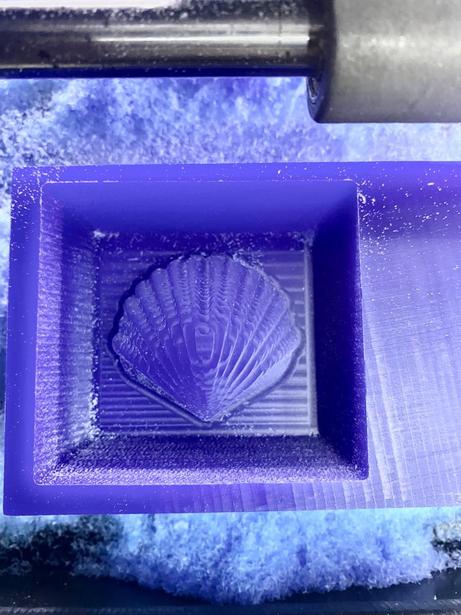
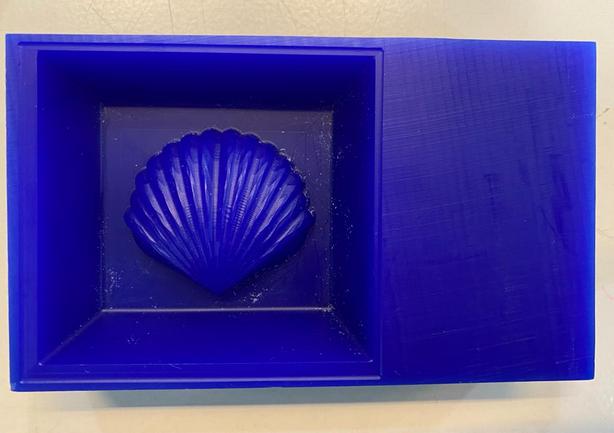
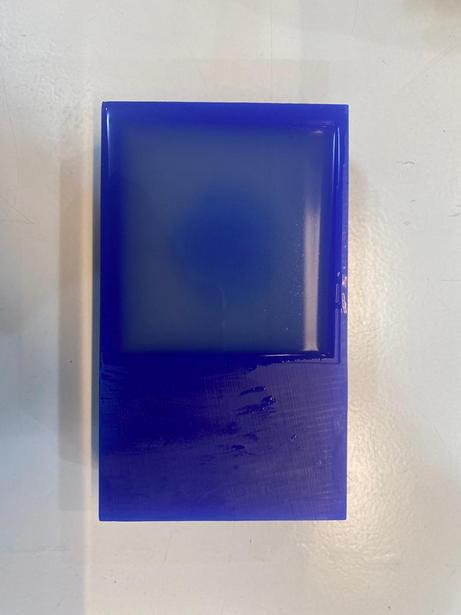
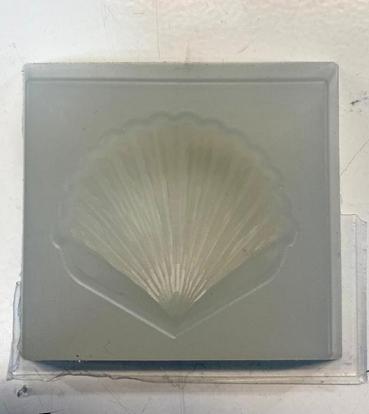
CASTING
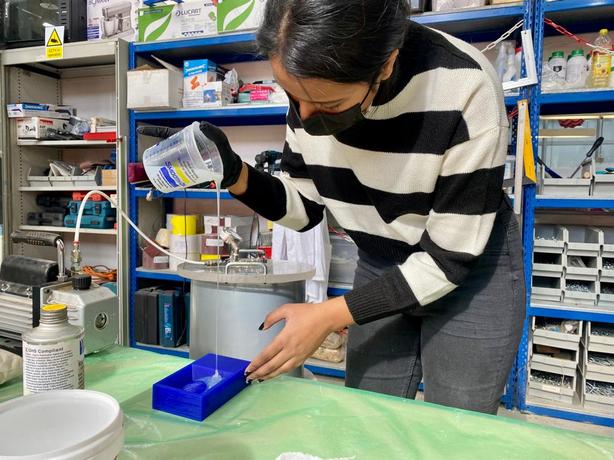
I wanted to use food safe silicone for the mold, so I could make some chocolates later. So I used EASYL 940.
- Read the datasheet.
- Measure the approximate volume needed for the mould.
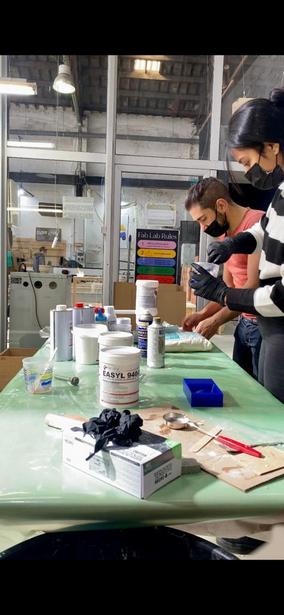
- Add the desired volume of Part A and B of the silicone using a measuring scale.
- Mixing the two together well is very important for the result and always remember to wear gloves.
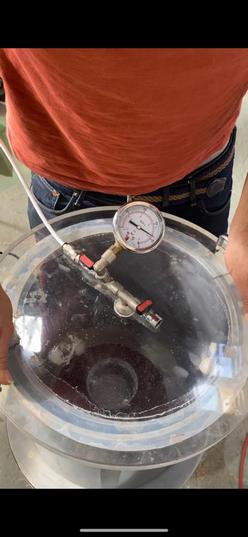
- A degassing chamber can be used to get rid of the air bubbles.
- Now start in a corner and pour the silicone in a thin line always making sure you are pouring over silicone.
- Tap the mold to get rid of any air bubbles.
- Let it cure for a few hours.
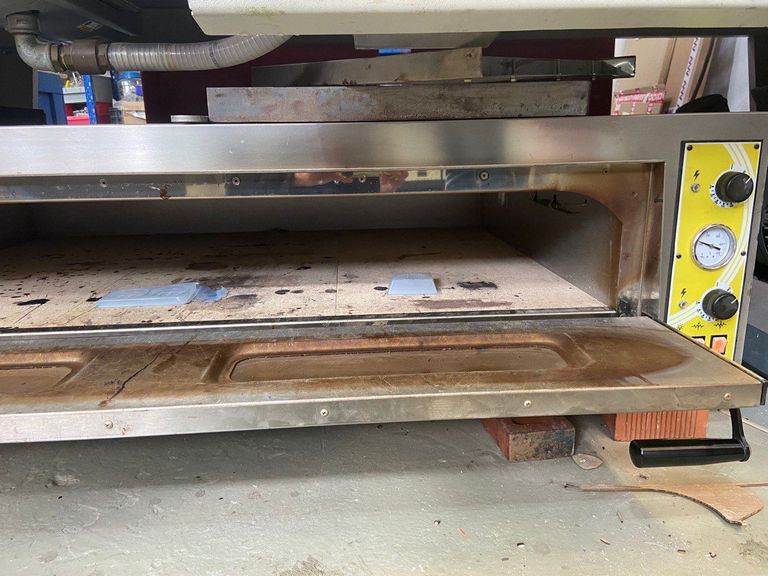
- Put the cured silicone mould into the oven for 4hours on 100 degrees.
Food-safe silicone Easyl 940-FDA DATASHEET
TECHNICAL DATA: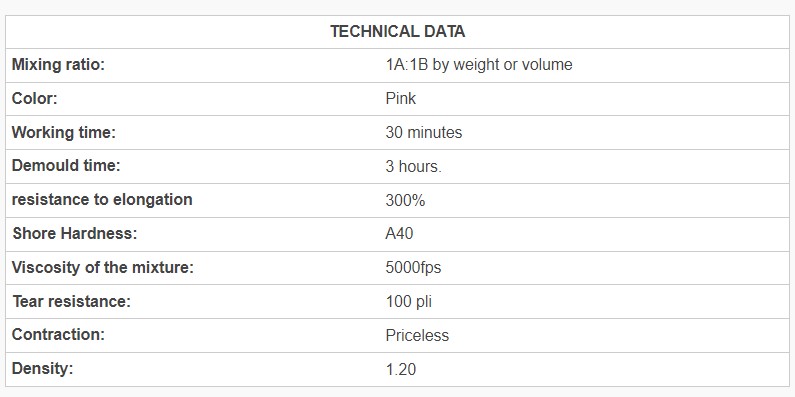
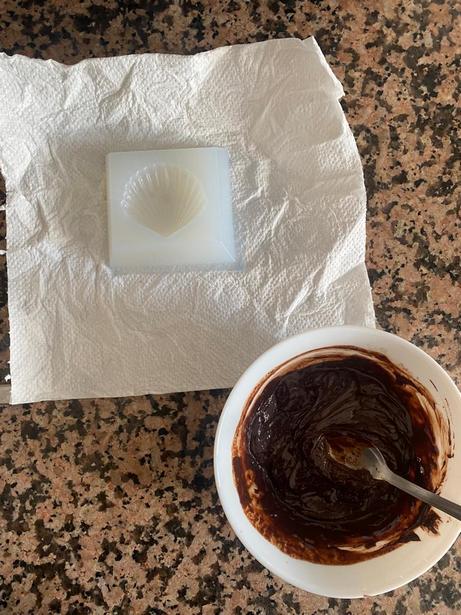
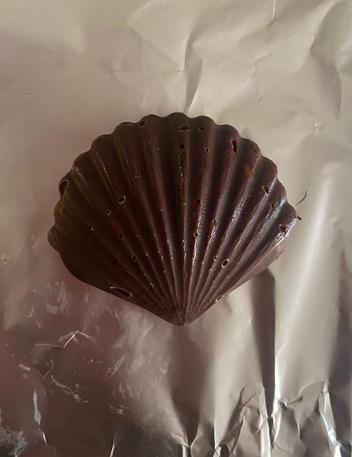
CASTING THE CHOCOLATE

Design files download
Rhino file